- Beginner
- 10 min
- US ch = UK ch
How to Crochet a Chain Stitch (ch)
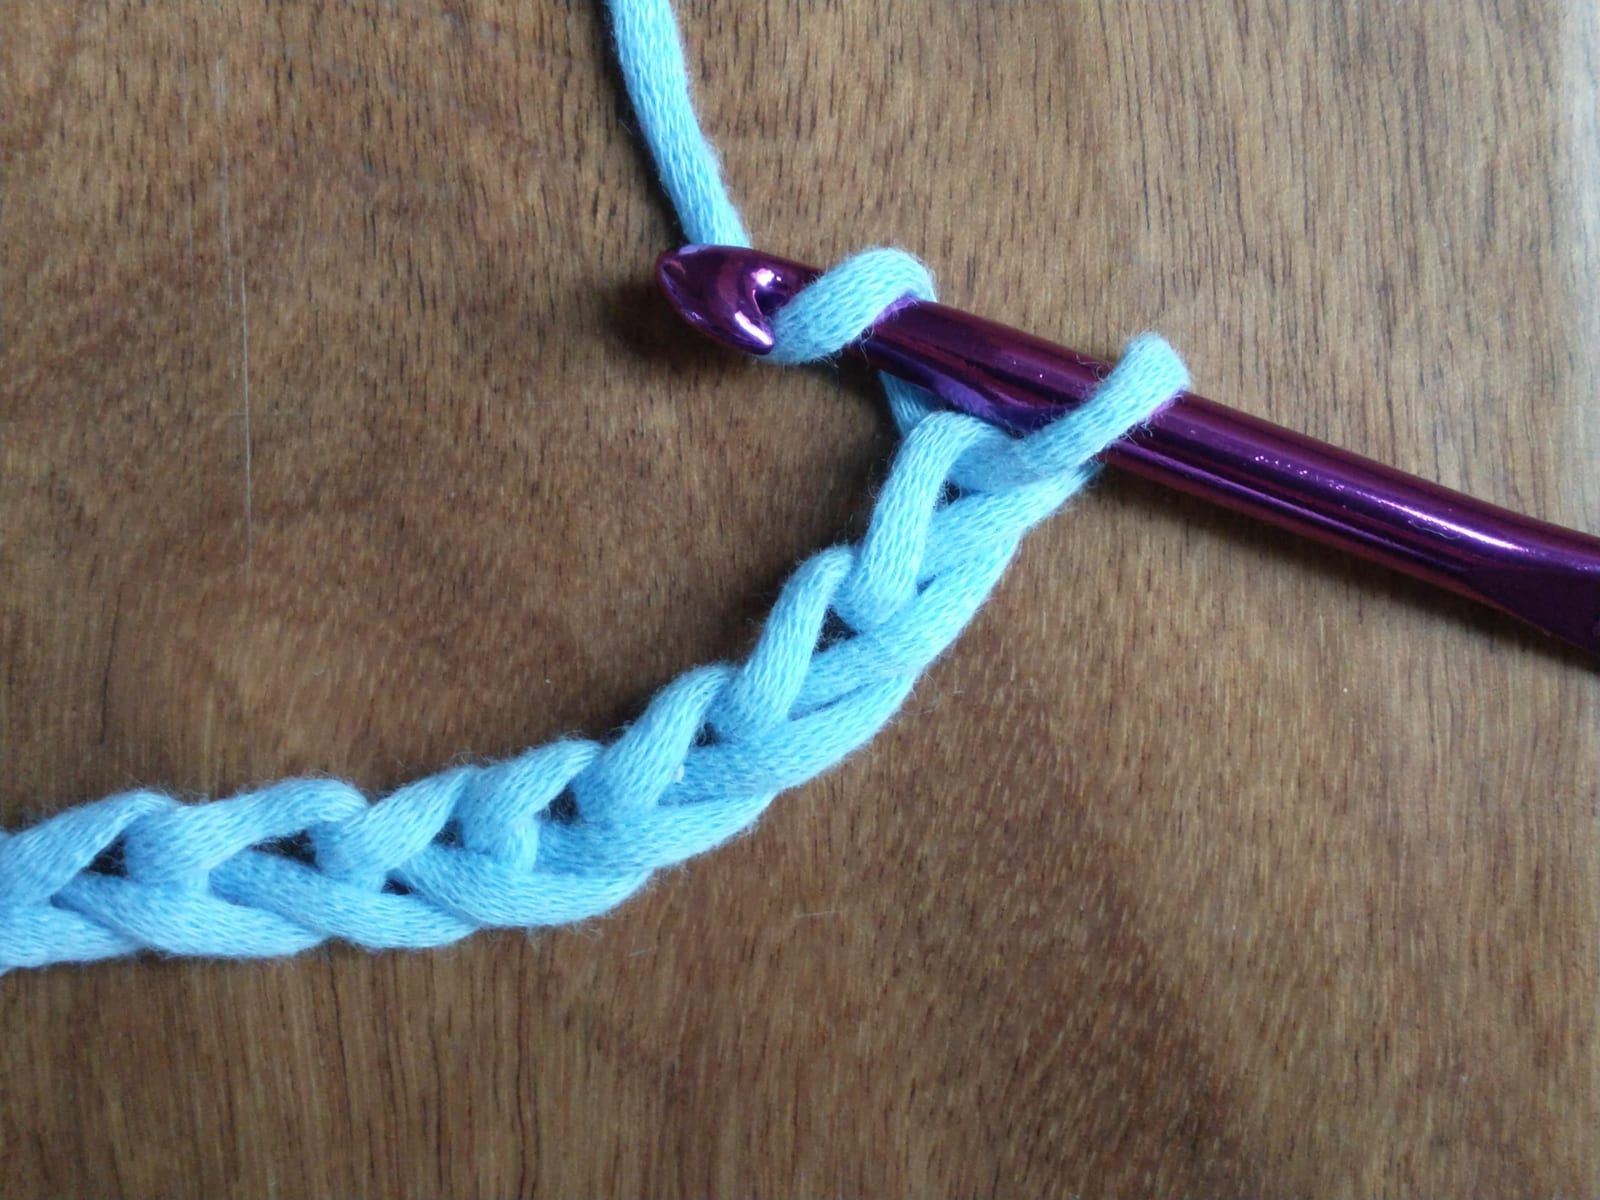

The chain is the first stitch almost every crocheter learns, and the one you’ll use in nearly every project. A row of chains — the foundation chain — is the base you work your first row into. Chains also make the turning chains at the start of rows, the spaces in lacy stitches, and the loops at the corners of granny squares.
Chain stitch is the same in US and UK terms: chain, abbreviated ch.
You’ll need
- Smooth, light-colored worsted-weight yarn (light colors make stitches easier to see)
- A crochet hook in the size suggested on the yarn label — a 5 mm (H-8) hook suits most worsted yarn
- A slip knot already on your hook
Step-by-step: how to crochet a chain
- Make a slip knot and place it on your hook. Snug it so it slides easily but doesn’t flop.
- Hold the hook in your dominant hand and the working yarn (the strand coming from the ball) over the fingers of your other hand. Pinch the tail of the slip knot between that thumb and middle finger.
- Yarn over (yo): bring the working yarn over the hook from back to front, so it lies in the hook’s throat.
- Pull through: turn the throat of the hook slightly downward and draw the yarn through the loop on your hook. You’ve made one chain.
- Move your pinch up. Re-grip just below the hook, on the chain you just made, so you’re always holding the work close to where you’re stitching.
- Repeat steps 3–5 until you have the number of chains you need.
Tip: Let the hook do the turning. A small twist of the wrist — throat down as you pull through, then back up — stops the hook from snagging on the loop.
How to count chains
Each chain looks like a small sideways V on the front of the chain. Count the Vs.
- Don’t count the loop on your hook. It’s the start of your next stitch, not a finished one.
- Don’t count the slip knot. It’s an anchor, not a chain.
So if you count 20 Vs between the slip knot and the hook, you have 20 chains. For long foundation chains, place a stitch marker every 10 or 20 chains so you don’t have to start over if you lose count.
The anatomy of a chain
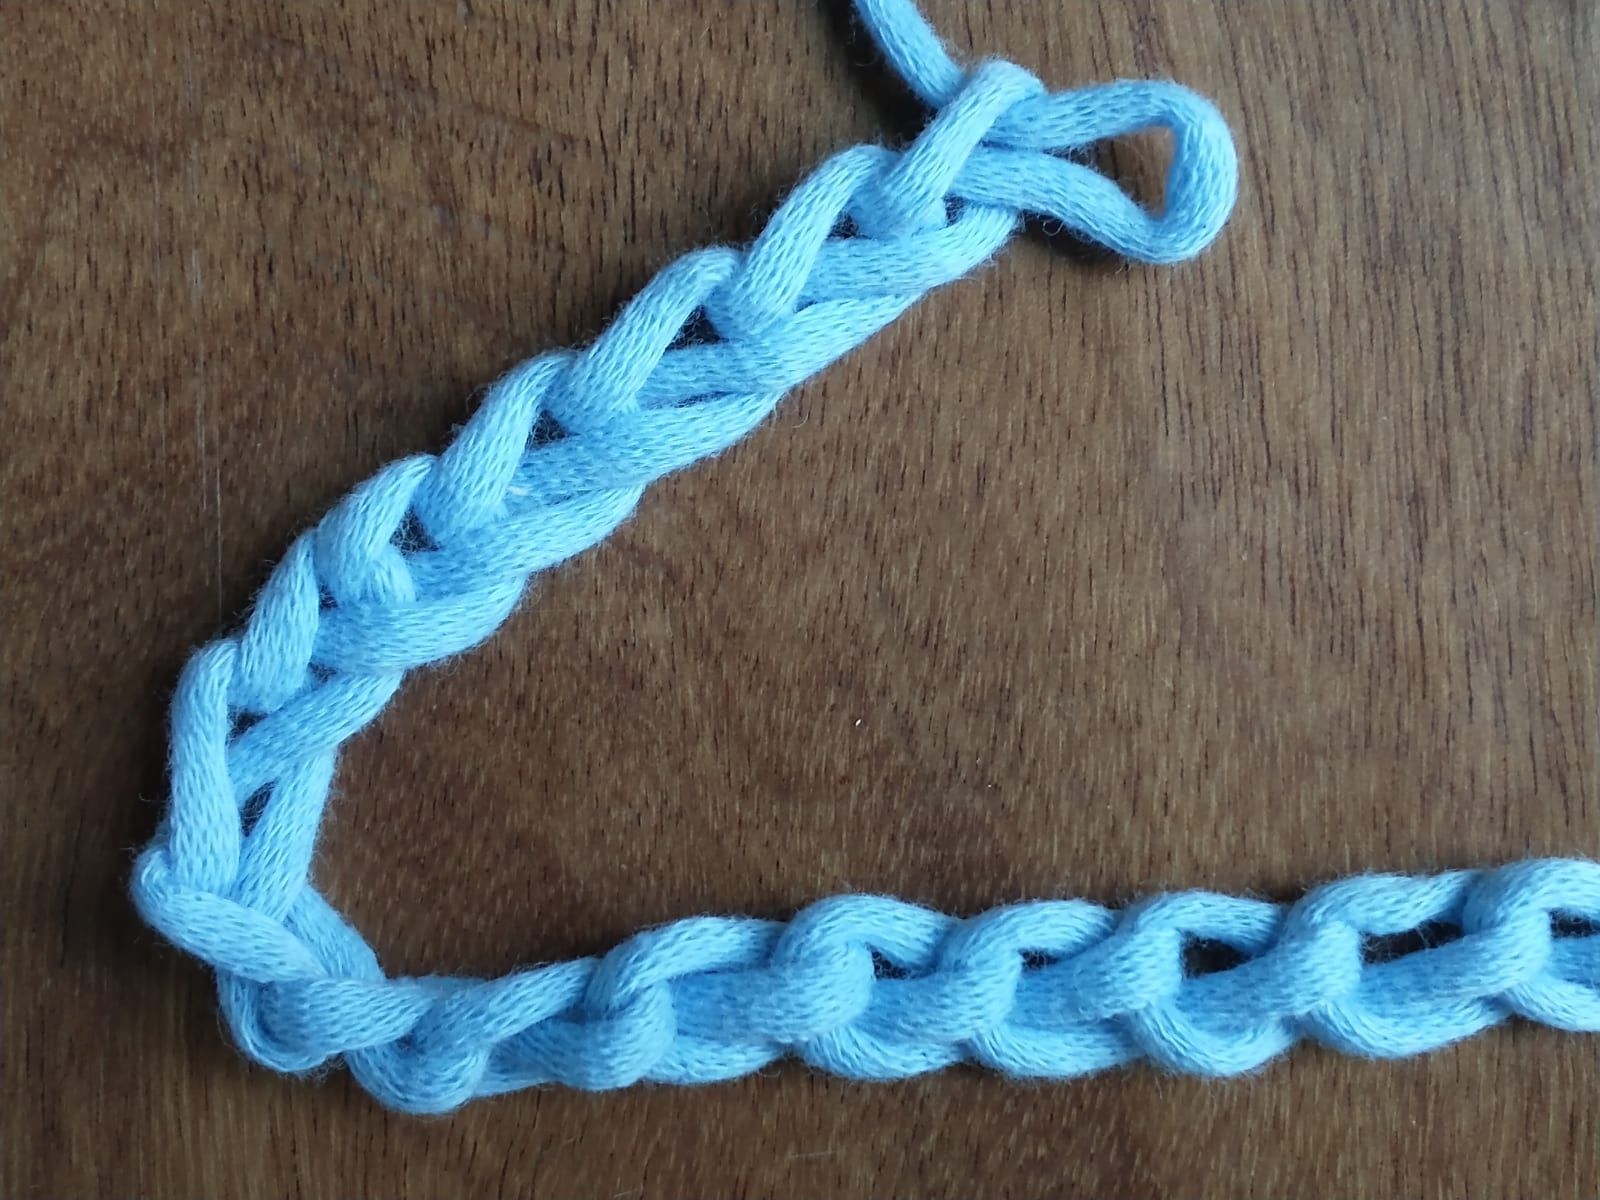
Look closely and you’ll see each chain has three strands:
| Part | Where | Notes |
|---|---|---|
| Top loop | One leg of the V on the front | Easiest to see and to work into |
| Bottom loop | The other leg of the V on the front | Together with the top loop, forms the V |
| Back bump | A single bump on the back side | Working into it leaves a neat, V-lined bottom edge |
Patterns usually just say “sc in 2nd ch from hook” without saying which strand. Most beginners insert the hook under the top loop (or both top loops). Working into the back bump gives the tidiest edge, which is handy for blankets or anything with an exposed bottom edge.
How tension affects your chain
The most common chain problem is tension. A foundation chain that’s tighter than the rows above it will make the bottom of your work pucker and narrow.
- If your hook is hard to push into the chains, they’re too tight. Try a hook one or two sizes larger for the foundation chain only, then switch back.
- If the chains look loose and loopy, hold the working yarn a little more firmly, or wrap it once around your little finger.
- Form each chain on the thickest part of the hook’s shaft, not the narrow throat. This often fixes tight chains on its own.
Common mistakes
- Counting the loop on the hook. You end up one chain short.
- Twisting the chain. When you start your first row, keep all the Vs facing you. A twisted foundation chain gives you a twisted first row.
- Pulling each chain tight. Chains should be even and relaxed, about the same size as the hook’s shaft.
- Losing count on long chains. Use markers, or chain a few extra and unravel the leftovers after Row 1 (undo the slip knot and pull the tail back through).
Ways chains are used in patterns
- Foundation chain: the starting row for flat work.
- Turning chain: chains at the start of a row that bring your hook up to the height of the next stitches.
- Chain spaces (ch-sp): gaps made by chaining and skipping stitches, as in moss stitch and mesh.
- Chain loops: longer chains that form loops, rings or hanging tabs.
FAQ
Do you count the slip knot as a chain?
No. Neither the slip knot nor the loop on your hook counts as a chain. Count only the completed Vs between them.
Why does my work get narrower at the bottom?
Your foundation chain is tighter than your stitches. Make the chain with a larger hook, or consciously make each chain on the full width of the hook shaft.
Which loop of the chain should I work into?
Any of them works if you’re consistent. Under the top loop is easiest for beginners; the back bump gives the neatest finished edge.
Is there a way to skip the foundation chain?
Yes — foundation stitches such as foundation single crochet build the chain and the first row at the same time. They’re stretchier, but a regular chain is easier to learn first.
Step photos

This page uses US crochet terms.